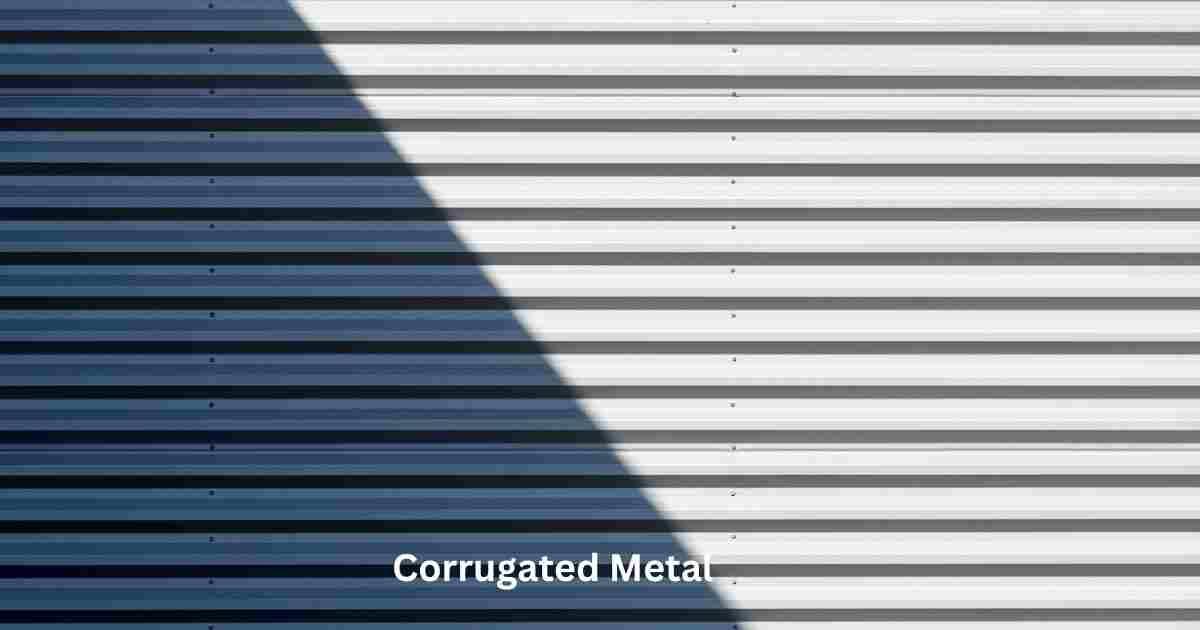
Corrugated metal is a type of metal sheet that has ridges and grooves running along its surface, giving it a wavy appearance. It’s commonly used in construction for roofing and siding due to its durability and strength. The ridges, called corrugations, not only add strength to the metal but also create interesting patterns of light and shadow. Corrugated metal comes in various materials like galvanized steel or aluminum and can be used both indoors and outdoors to add a unique and industrial aesthetic to buildings and structures.
Corrugated Metal
Corrugated metal is a type of sheet metal that features parallel ridges and grooves, giving it a distinctive wavy appearance. These ridges, known as corrugations, not only add strength to the metal but also create interesting patterns of light and shadow when installed corrugated metal shower walls vertically or horizontally. Metal roofing is another versatile option for interior walls. While it’s typically used to protect buildings from the elements, metal roofing can also serve as a stylish and durable wall covering. Its smooth surface and clean lines make it a popular choice for modern and minimalist interiors.
Installation:
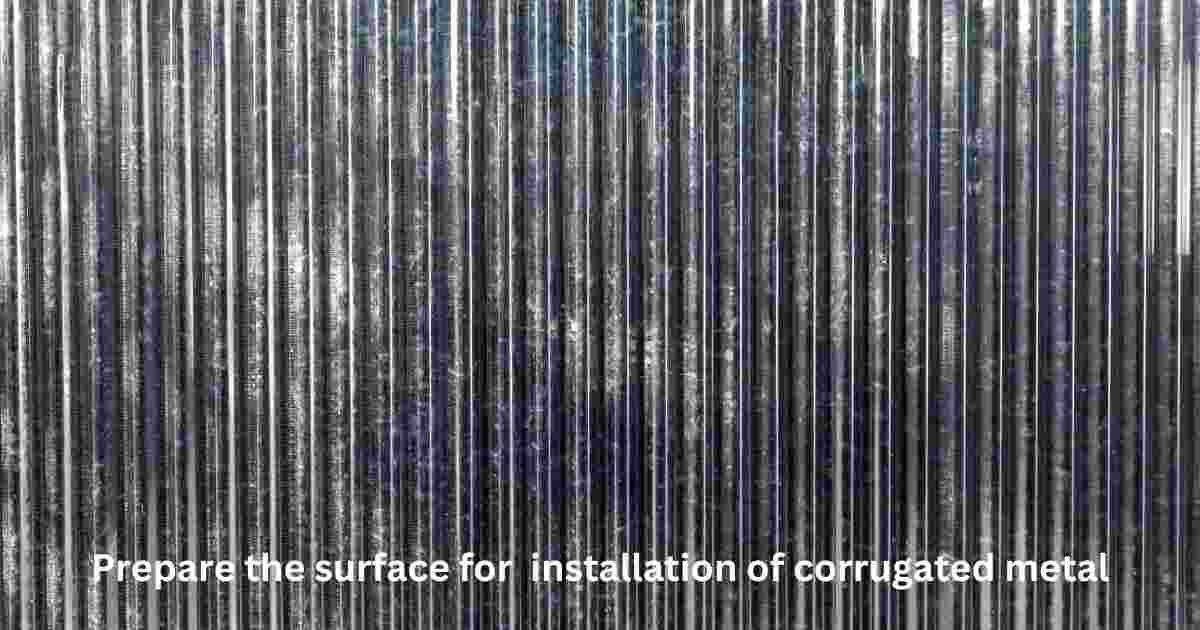
Prepare the surface:
To prepare the surface for installing corrugated metal on interior walls, begin by thoroughly cleaning the walls to remove any dust, dirt, using a broom, vacuum cleaner. Inspect the walls for damage and repair any cracks with spackling compound. If the walls are painted, consider removing the existing finish with a paint scraper for better adhesion.
Additionally, apply a primer specifically designed for metal surfaces and allow it to dry completely before proceeding with the installation. This meticulous preparation makes a clean and smooth foundation, promoting optimal adhesion and longevity of the metal panels.
Measure and cut the panels:
Measure and cut the panels accurately, start by measuring the dimensions of the wall surface and marking them on the metal panels with a pencil. Use a straightedge to make straight and aligned marks. Choose the appropriate cutting tool, such as a metal cutting blade attached to a power saw, and carefully follow the marked lines to make clean and precise cuts.
And then, test fit the panels against the wall to ensure proper alignment, making any necessary adjustments or trimmings. It’s essential to double-check measurements and take your time to avoid errors, ensuring a professional-looking installation of the corrugated metal on your interior walls.
Install the panels:
To install the panels, start at one corner of the wall and work horizontally across, ensuring the panels are vertically aligned using a level for accuracy. Moreover, secure the panels to the wall using screws or nails, spacing them at regular intervals along the corrugations to ensure stability and structural integrity. This method ensures a professional finish and prevents any visual imperfections, providing a stylish and durable surface for your interior walls.
Trim Excess Material:
Once the corrugated metal panels are installed on your interior walls, assess for any excess material protruding from the edges. Use tin snips or a metal cutting blade to carefully trim along the marked lines or edges, ensuring clean and precise cuts. Secure the panel if needed to prevent shifting during cutting.
Inspect the edges for rough spots or sharp edges and use a metal file or sandpaper to smooth them out for a polished finish. This final step is crucial for achieving a professional look and ensuring the safety and durability of your project.
Seal the Seams:
Sealing the seams and edges of corrugated metal panels is crucial to prevent moisture infiltration and enhance insulation. Begin by selecting a high-quality caulk or silicone sealant designed for metal surfaces, ensuring durability and weather resistance. Clean and dry the metal surface thoroughly before applying the sealant using a caulking gun.
Be sure to fill any gaps or voids completely, smoothing the bead with a putty knife or finger for a neat finish. Allow the sealant to cure according to the manufacturer’s instructions before exposing it to moisture. By following these steps, you can effectively protect your interior walls and ensure a long-lasting installation of corrugated metal.
Finishing Touches:
Once the corrugated metal panels are installed on your interior walls, consider adding finishing touches to enhance their aesthetic appeal. Step back and appreciate the transformation, then customize the panels by painting them to match your decor scheme or applying decorative finishes like distressing or stenciling for a personalized touch.
Accessorize with industrial-style decor elements and functional additions like organizers to maximize both style and functionality. Maintain the panels with regular cleaning and inspections to ensure their longevity. With these finishing touches, your corrugated metal interior walls will exude character and charm, reflecting your unique sense of style.
Vertical metal siding installation guide
Once you’ve selected the right materials, it’s time to tackle the installation process. Whether you’re installing corrugated metal vertically or horizontally, proper technique is crucial for achieving a professional-looking finish. Here’s a step-by-step guide to installing vertical metal siding on interior walls:
Step 1: Prepare the Surface
Clean the Walls: Start by thoroughly cleaning the walls to remove any dust, dirt. A clean surface will ensure proper adhesion of the metal panels.
Apply Primer: If the walls are painted or coated, apply a primer to promote better adhesion. Allow the primer to dry completely before proceeding.
Step 2: Measure and Cut the Panels
Measurements: Take accurate measurements of the wall surface and mark the dimensions on the metal panels using a pencil.
Cutting: Use tin snips or a metal cutting blade to cut the panels to the desired size. Take care to follow the marked lines precisely to ensure a snug fit.
Step 3: Install the Panels
Starting Point: Begin at one corner of the wall and work your way across, installing the panels vertically. Use a level to ensure that the panels are straight and plumb.
Fastening: Secure the panels to the wall using screws or nails, making sure to place them at regular intervals along the corrugations. Refer to the manufacturer’s recommendations for screw spacing for metal siding to ensure proper installation.
Step 4: Finishing Touches
Trimming: Trim any excess material from the edges of the panels using tin snips or a metal cutting blade.
Sealing: Seal the seams and edges of the panels with silicone to prevent moisture infiltration and improve insulation.
Conclusion:
Installing corrugated metal on interior walls is a rewarding DIY project that can significantly enhance the beauty and character of your home. By meticulously preparing the surface, measuring and cutting the panels accurately, and securing them with proper fastening techniques, you can achieve a professional-looking installation. However, it’s essential to anticipate potential challenges such as pebble tile shower floor problems, which may arise during the installation process. Remember to trim any excess material, seal the seams, and add finishing touches like painting or decorative finishes to customize the panels to your desired aesthetic.